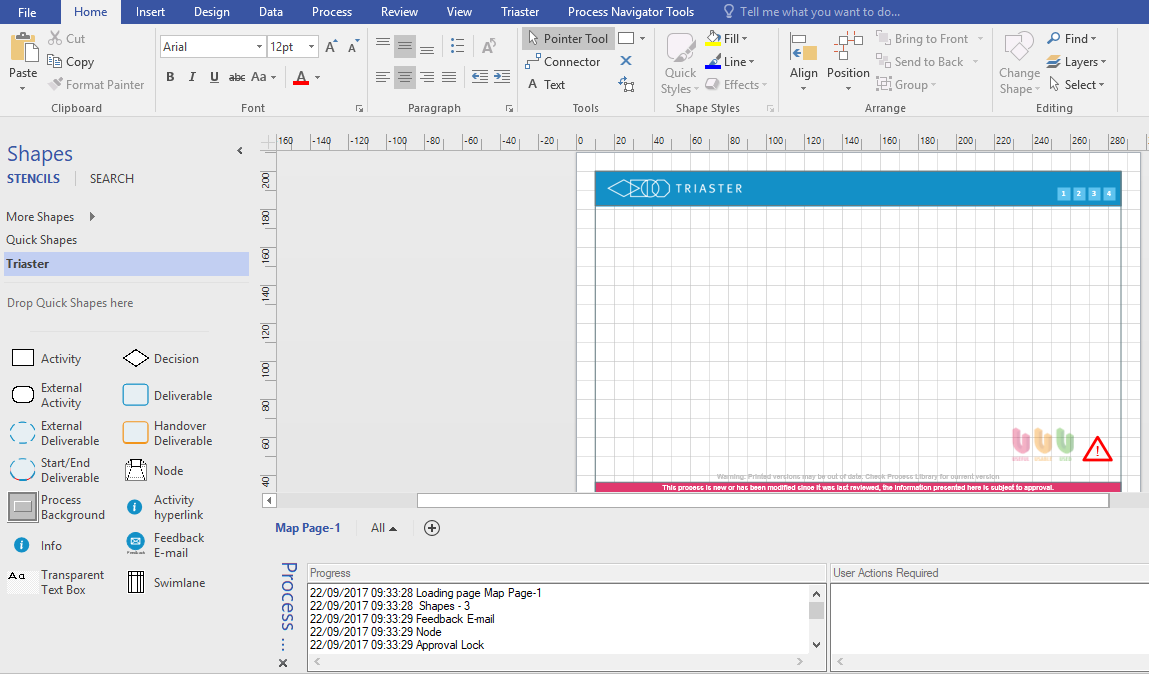
Step 2: Naming the Node
Before you add any shapes to the map, give the Node a name:
- Single left-click on the Node shape on its blue frame or anywhere in the information bar across the bottom (not inside on the drawing page).
- Type "Initiate recruitment" and click away.
The name is displayed in the Node’s title bar.
NOTE: You can change the Node name at any time by selecting the Node shape and using F2 or right-click on the border of the shape and selecting properties. Click OK when done.
What is a Node?
Nodes represent an overall Activity. In this case, that Activity is Initiate recruitment. In complex multi-level maps, an Activity shape on one map expands into a Node with a map showing the individual processes involved in that particular Activity in more detail. You should choose Node names carefully because Process Navigator will use the text elsewhere as you develop your process maps. A Node name should:
- Contain a verb (e.g. Request warehouse stock)
- Represent the name of the process name (e.g. Requisition Process)
It could also explain the process from the first Activity to the last Activity (e.g. Request and receive required goods)

TIP: The length of Node name should not be too long as it forms part of the URL.
NOTE: The page name and the Node name must not exceed 99 characters. Anything over this and Visio will truncate the name and the URL will become invalid.